I had a childhood fascination with all things odd and strange. Of course I liked the things that kids are expected to like - dinosaurs, ghosts, monster movies - but I had a tendency to lean toward the macabre and the unexpected. It's not too surprising that once I had grown enough to put a pedal under my foot and a wheel in my hands, I'd aim my vehicle in the direction that I had already been leaning.
These two guys have taken my hobby and made a career out of it. And this site is unrelated to the book, written by a different guy, but has a similar vein. I am apparently, not unique.
I'm less interested in "haunted houses" and "spiritually connected spaces" and more interested in strange buildings, odd gravestones, unexpected monuments, and places of historical interest.
Griffith Park:
The Curse? Bah, whatever. The weird? For starters, Griffith J Griffith let ostriches be raised on his land, changed his mind about the ostriches, then got shot by the ostrich owner. Taking a cue from his attempted murderer, he decided to try and pre-emptively shoot his wife (who may have been trying to poison him) and failed to kill her. He served two years in San Quentin, and donated the land that is now the park.
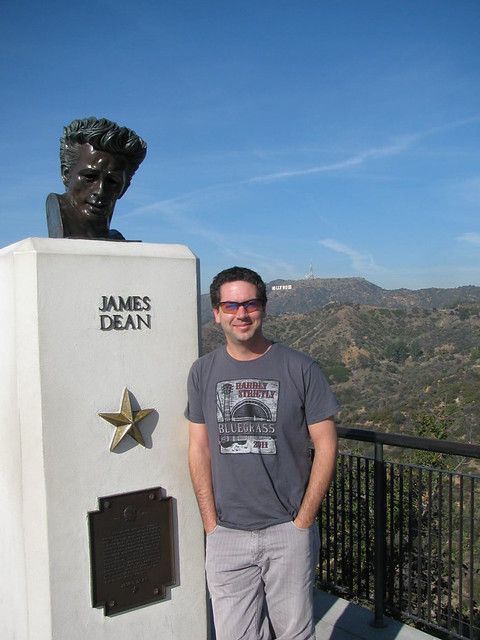
James Dean was right, it's the perfect place to see everything. Go get your picture taken next to his disembodied head.
Bubble Gum Alley. See the previous post.
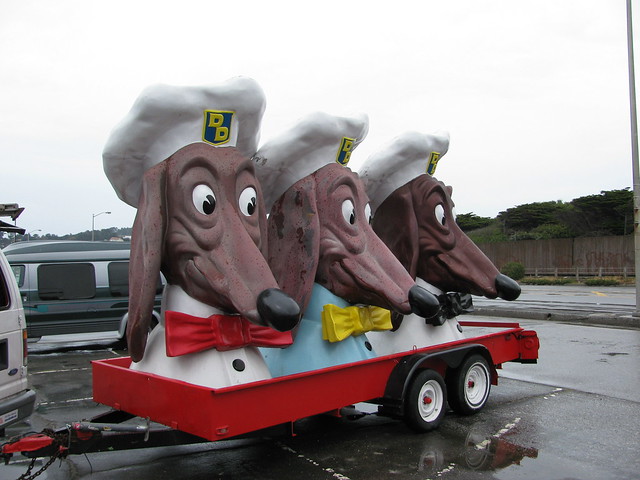
I have never seen the Phantom Cow of Yerba Buena, but I have seen the Doggie Diner heads.
More later. as always.
Friday, February 24, 2012
Brake time - part 2
Continuing:
For clarification on the brake drum removal trick: Do this.
Once you are done inspecting your work, it is time to put the drum back one. Wipe it clean once more, and line up the splines, and slide it on gently.
The lug nuts don't need to be on, I put them there so I wouldn't risk losing any. Now tighten the big hub nut, re attach the wheel, and lower the car off the jack stand - you will need the tire to press against the ground again as you go for 250 foot pounds.
Side note: as long as the tire is off, now is a good time to adjust valves, wipe down parts, check shocks, examine fuel lines, all that kind of stuff thats easy with you don't have a tire in your way. just Saying.
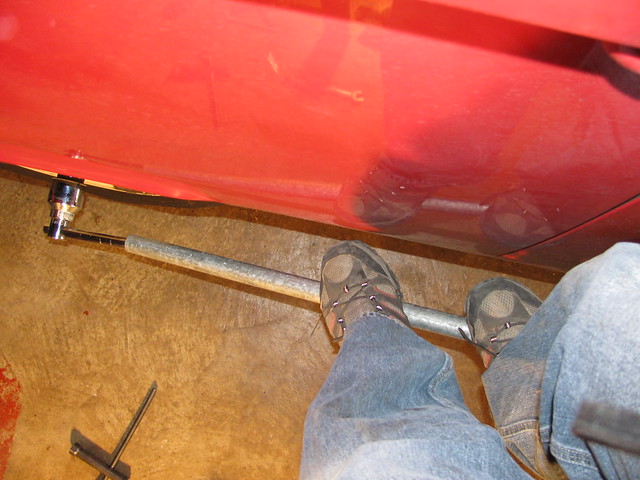
So your tire is mounted and on the ground. Vehicle is in gear, parking brake is on. Good. Put the big honking hex wrench on the big honking nut and cracking it down by hand at first, and then by body. Like this.
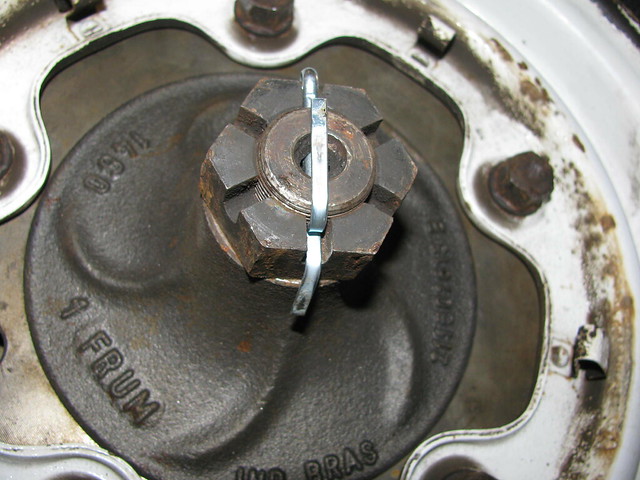
Push until you can't push no more, chances are you have put it on tight enough. My cheater pipe put me out about 3 feet, and I weight over 175, I'm pretty sure that I surpassed the 250 ft pound torque setting. As you are bouncing on your cheater pipe, check to make sure you can line up the cotter pin. Like so.
Put the cotter pin in, bend it and you are almost done.
Get that friend of yours to help you bleed the brakes, adjust the rear stars.
Drive it carefully and test your work.
Drink something. I prefer beer. You may have something else.
For clarification on the brake drum removal trick: Do this.
The lug nuts don't need to be on, I put them there so I wouldn't risk losing any. Now tighten the big hub nut, re attach the wheel, and lower the car off the jack stand - you will need the tire to press against the ground again as you go for 250 foot pounds.
Side note: as long as the tire is off, now is a good time to adjust valves, wipe down parts, check shocks, examine fuel lines, all that kind of stuff thats easy with you don't have a tire in your way. just Saying.
So your tire is mounted and on the ground. Vehicle is in gear, parking brake is on. Good. Put the big honking hex wrench on the big honking nut and cracking it down by hand at first, and then by body. Like this.
Push until you can't push no more, chances are you have put it on tight enough. My cheater pipe put me out about 3 feet, and I weight over 175, I'm pretty sure that I surpassed the 250 ft pound torque setting. As you are bouncing on your cheater pipe, check to make sure you can line up the cotter pin. Like so.
Put the cotter pin in, bend it and you are almost done.
Get that friend of yours to help you bleed the brakes, adjust the rear stars.
Drive it carefully and test your work.
Drink something. I prefer beer. You may have something else.
Thursday, February 23, 2012
Brake time
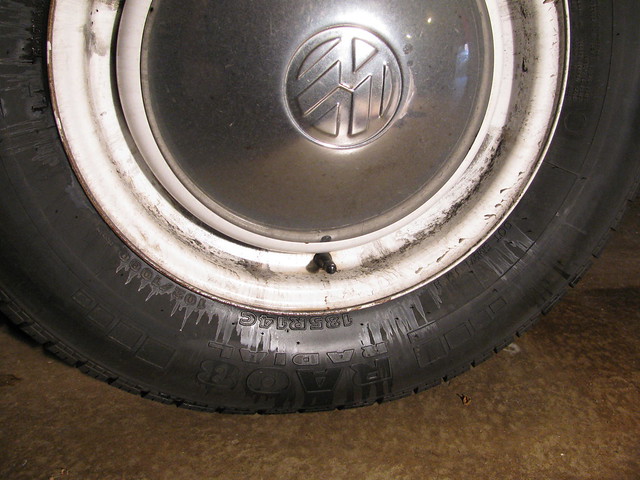
It's Tuesday, and I'm about to head south for a day. I pull the bus out of the garage, go back to close the door, and notice a trail of goop tracked through the garage. Further inspect of the trail leads to the rear tire, which looks like this.
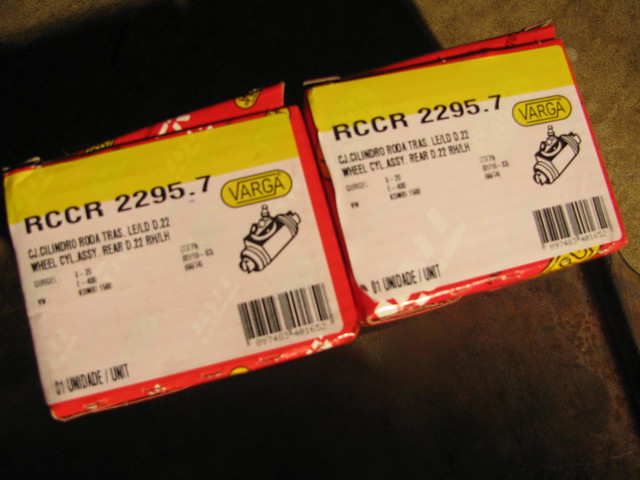
I get on my other vehicle (also german, also horizontally opposed cylinders, but only half as many, and only half as many tires) and make a run to my local parts store. The bus goes back in the garage, and I make a note to buy a couple of these.
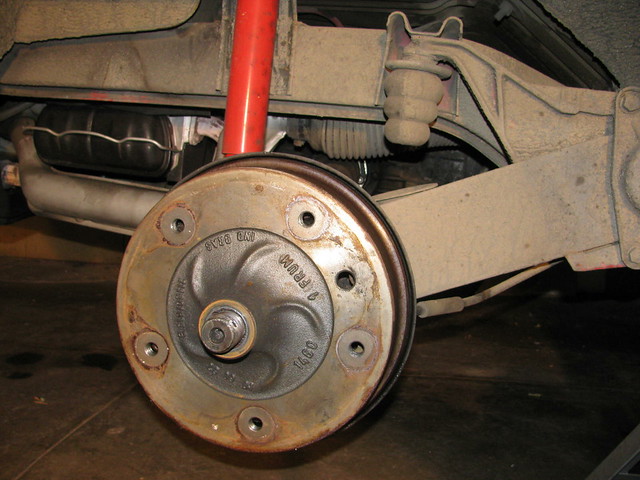
I get back, and inspect a little further before the big work begins.
If you haven't done this before, here's the short primer. Get the right sized big-ass socket with a 3/4 inch drive and get ready to break 250 foot pounds of torque. Pull the cotter pin, and get that nut off of there.
I do not have a picture of me standing on the cheater pipe. Note: the car is in gear, the hand brake is on. the wheels are blocked. You need the friction of the tire to get the nut to move. Once that nut is removed, you now have the problem of removing the drum. Jack the car up, put a solid jack stand under it, and release the transmission (shift it to neutral). Release the hand brake.Your wheel needs to be able to move.
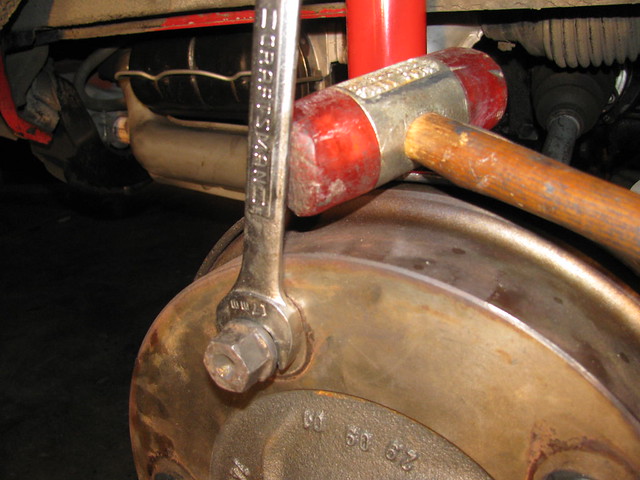
The drum won't go willingly. If you have the right tool, you can just connect the lug nuts and turn a crank. Since I don't have the right tool, I have to do it the hard way. Place all lug nuts back in. Get a 17 mm open end box wrench, and slip it between the lug nuts and the drum. Take a soft hammer and tap the wrench so you are effectively tapping the drum. Rotate the drum with every few taps. Again. Again. Again. Again. this may take some time....
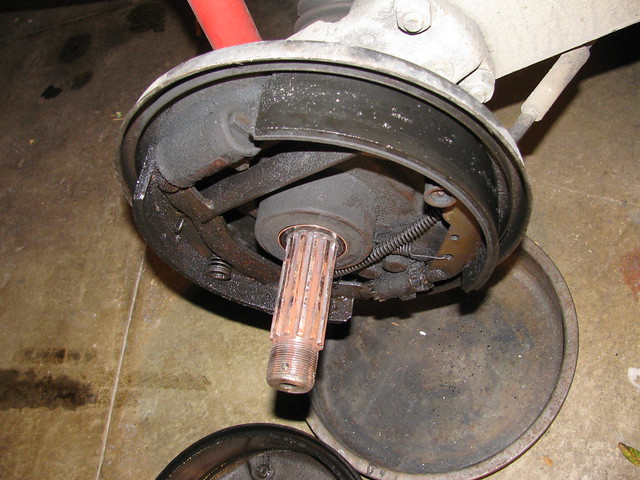
One the drum has move forward enough to remove, take it off and you will have this glorious scene, hopefully without the brake fluid all over.
In order:
Remove the spring clips in the middle of the brake - the ones that connect it to the backing plate. It's a quick turn of a small piece of metal, and the springs are free.
Use a screwdriver and pry the lower part of the brakes off the adjusting stars.
The brakes should be free enough to remove the rest of the springs, and take them out of the brake cylinder.
Remove the long springy cable that allows the parking brake to work.
Finally, disconnect the brake line from the rear cylinder and remove your dead brake cylinder. I use the little black bleeder valve cover to keep the brake fluid from leaking over the floor.
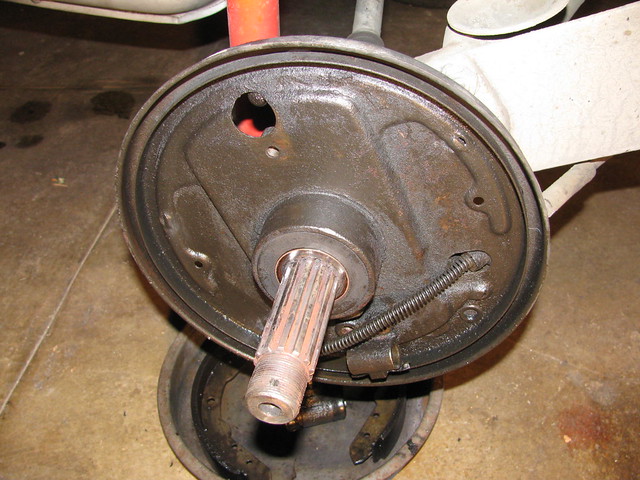
Your naked backing plate should look like this.
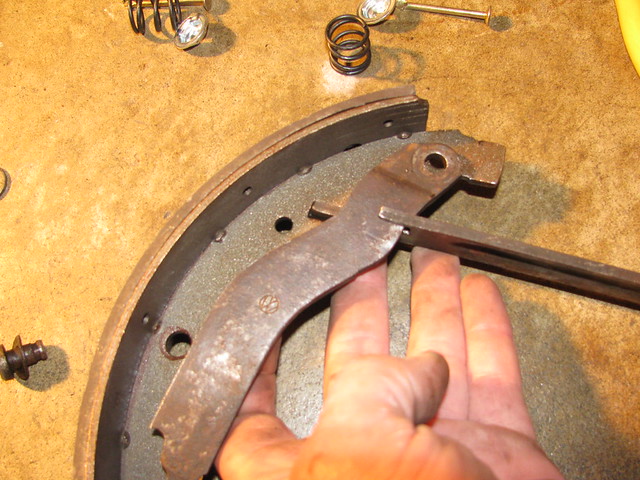
You have new brake shoes, and a new brake spring kit, yes? Good. clean off all the parts that you need to reuse: the flat funny looking metal bar that allows the hand brake to work, the 13 and 15 mm bolts that hold the brake pads, and the connecting bar that hand brake pulls on to engage, and the star adjusters.
Put the hand brake lever back on. It will look like this when you are done installing it.
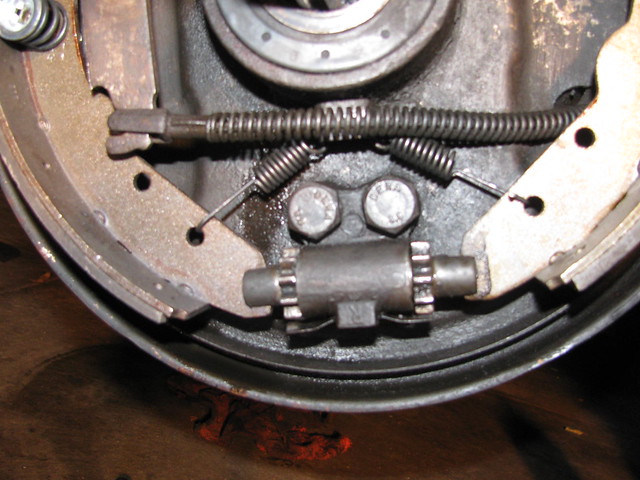
Bolt on the new brake cylinder, put the star adusters in, and put brake shoe that is connected to the hand brake in. Connect the hand brake Make sure the slots for the brake shoes are vertical, you don't want to have to monkey aroung with alignment after the springs are attached. Put the return springs one. the long connected one first, then the small lower springs second. Place the second shoe in the star adjuster first, and use the screwdriver to pull the top of the shoe over far enough to place it in the brake cylinder. Attach the center springs.
Note: the lower return springs will have one spring facing in, and another facing out.
Bask in the glory.
Torque the cylinder screws again for good measure, and warn a partner that you will need them for brake bleeding in about 30 minutes.
I'll write up the rest tomorrow, when I actually finish the job. For now, I'm going to sleep.
Tuesday, February 21, 2012
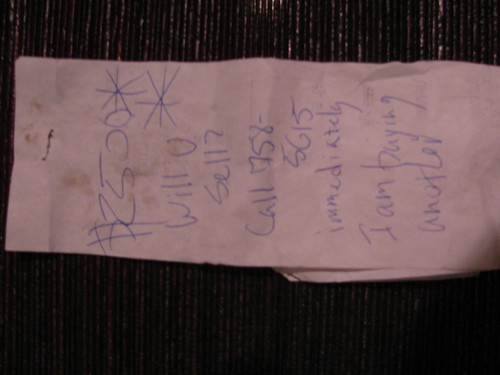
Found on Windshield
Um... no. Perhaps if you added another zero to that number, I'd talk. Currently, you haven't purchased an engine.
I get these once in a while on my windshield and quietly chuckle to myself.
I get these once in a while on my windshield and quietly chuckle to myself.
Subscribe to:
Comments (Atom)
Introducing, The Squirrel
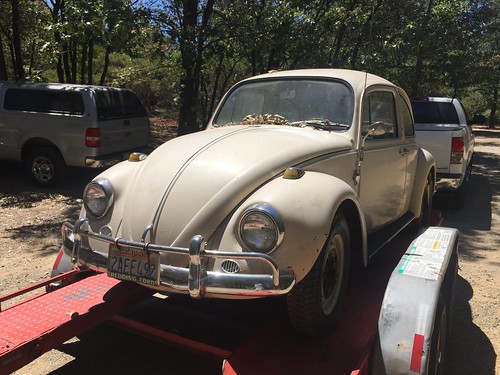
I have another VW. I know it's a sickness. I'm cutting and pasting the post that I put on the samba: The Back story: My grandpare...
-
Anyone who restores a bus has a small handful of companies that they rattle off when looking for parts: West Coast Metric Mid America Motorw...
-
I started this blog years ago with the intention of documenting and sharing my travels. I thought I'd be in my bus for most of them. It ...
