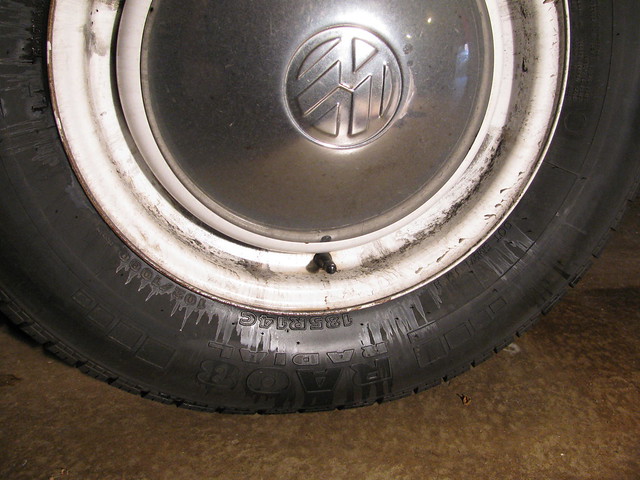
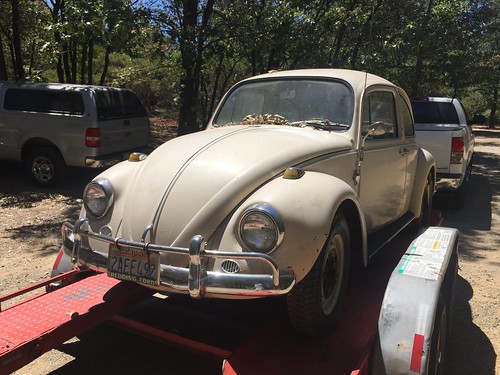
It's Tuesday, and I'm about to head south for a day. I pull the bus out of the garage, go back to close the door, and notice a trail of goop tracked through the garage. Further inspect of the trail leads to the rear tire, which looks like this.
I get on my other vehicle (also german, also horizontally opposed cylinders, but only half as many, and only half as many tires) and make a run to my local parts store. The bus goes back in the garage, and I make a note to buy a couple of these.
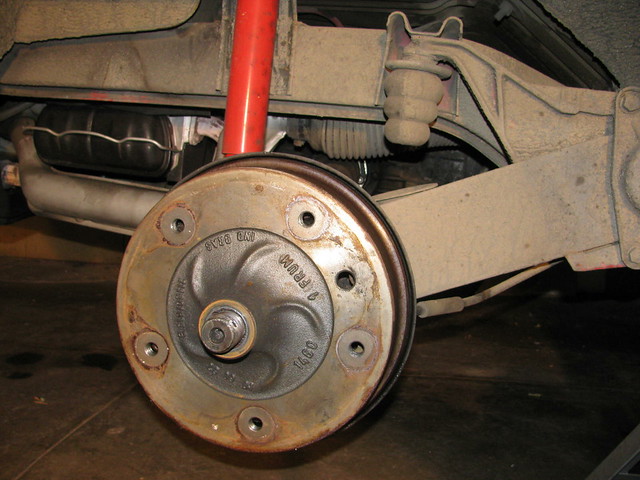
I get back, and inspect a little further before the big work begins.
If you haven't done this before, here's the short primer. Get the right sized big-ass socket with a 3/4 inch drive and get ready to break 250 foot pounds of torque. Pull the cotter pin, and get that nut off of there.
I do not have a picture of me standing on the cheater pipe. Note: the car is in gear, the hand brake is on. the wheels are blocked. You need the friction of the tire to get the nut to move. Once that nut is removed, you now have the problem of removing the drum. Jack the car up, put a solid jack stand under it, and release the transmission (shift it to neutral). Release the hand brake.Your wheel needs to be able to move.
The drum won't go willingly. If you have the right tool, you can just connect the lug nuts and turn a crank. Since I don't have the right tool, I have to do it the hard way. Place all lug nuts back in. Get a 17 mm open end box wrench, and slip it between the lug nuts and the drum. Take a soft hammer and tap the wrench so you are effectively tapping the drum. Rotate the drum with every few taps. Again. Again. Again. Again. this may take some time....
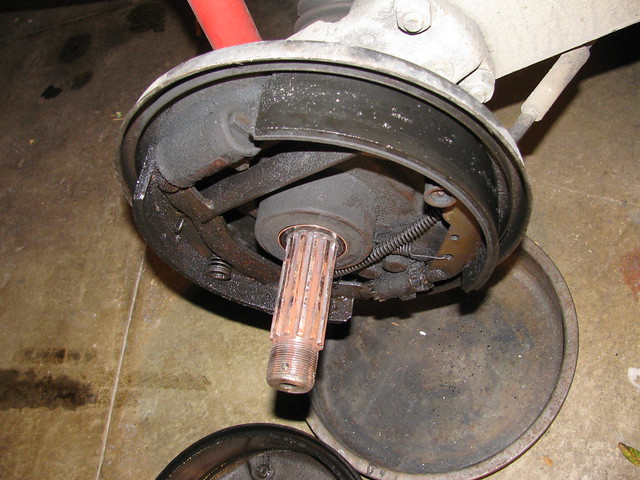
One the drum has move forward enough to remove, take it off and you will have this glorious scene, hopefully without the brake fluid all over.
In order:
Remove the spring clips in the middle of the brake - the ones that connect it to the backing plate. It's a quick turn of a small piece of metal, and the springs are free.
Use a screwdriver and pry the lower part of the brakes off the adjusting stars.
The brakes should be free enough to remove the rest of the springs, and take them out of the brake cylinder.
Remove the long springy cable that allows the parking brake to work.
Finally, disconnect the brake line from the rear cylinder and remove your dead brake cylinder. I use the little black bleeder valve cover to keep the brake fluid from leaking over the floor.
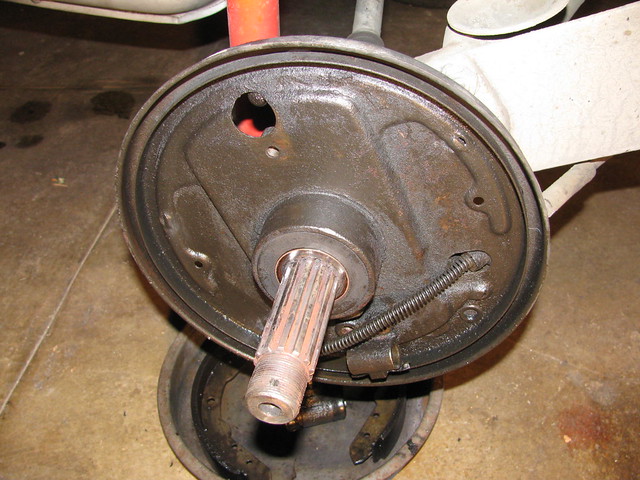
Your naked backing plate should look like this.
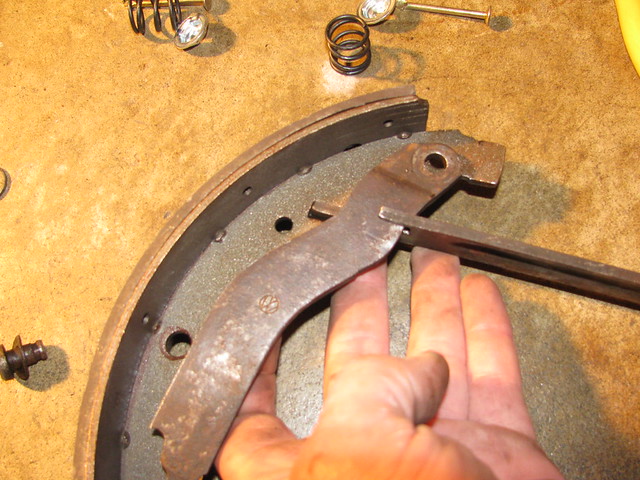
You have new brake shoes, and a new brake spring kit, yes? Good. clean off all the parts that you need to reuse: the flat funny looking metal bar that allows the hand brake to work, the 13 and 15 mm bolts that hold the brake pads, and the connecting bar that hand brake pulls on to engage, and the star adjusters.
Put the hand brake lever back on. It will look like this when you are done installing it.
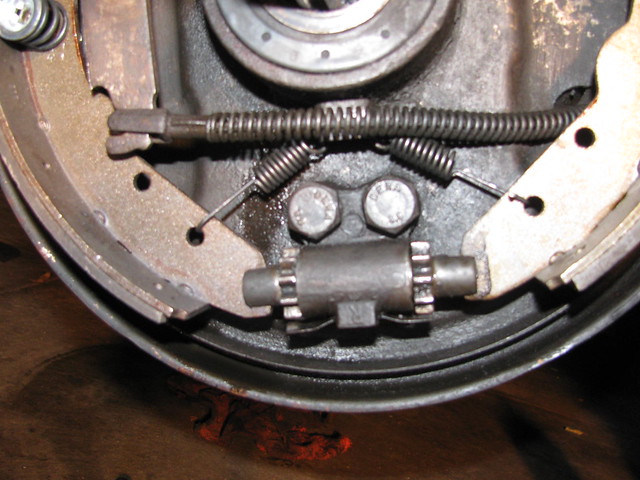
Bolt on the new brake cylinder, put the star adusters in, and put brake shoe that is connected to the hand brake in. Connect the hand brake Make sure the slots for the brake shoes are vertical, you don't want to have to monkey aroung with alignment after the springs are attached. Put the return springs one. the long connected one first, then the small lower springs second. Place the second shoe in the star adjuster first, and use the screwdriver to pull the top of the shoe over far enough to place it in the brake cylinder. Attach the center springs.
Note: the lower return springs will have one spring facing in, and another facing out.
Bask in the glory.
Torque the cylinder screws again for good measure, and warn a partner that you will need them for brake bleeding in about 30 minutes.
I'll write up the rest tomorrow, when I actually finish the job. For now, I'm going to sleep.


Nice write up.
ReplyDelete