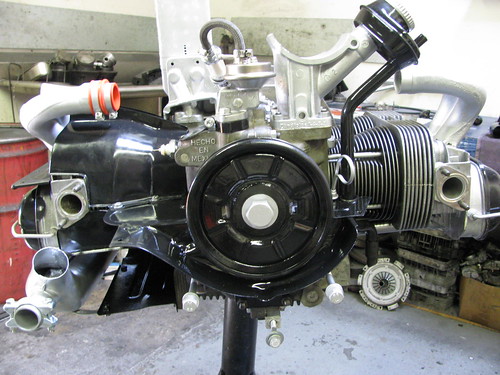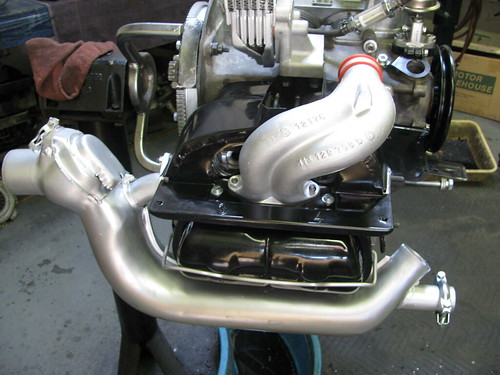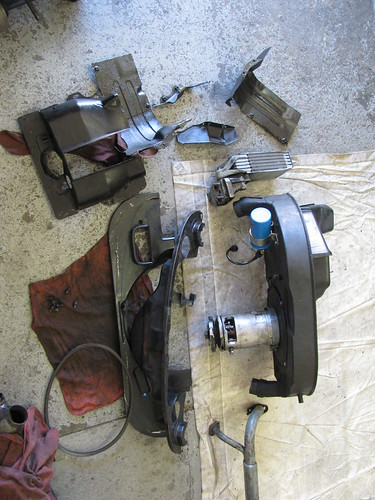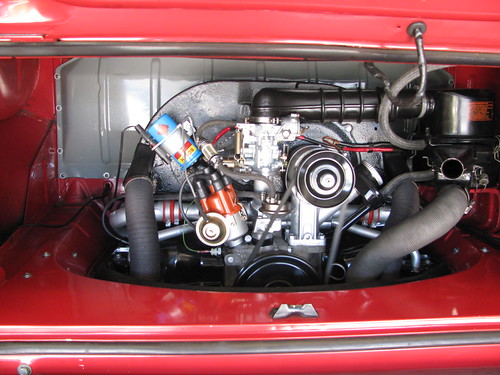
It purrs nicely. I'm doing the happy dance.
I have four new CV joints and new heat exchangers.
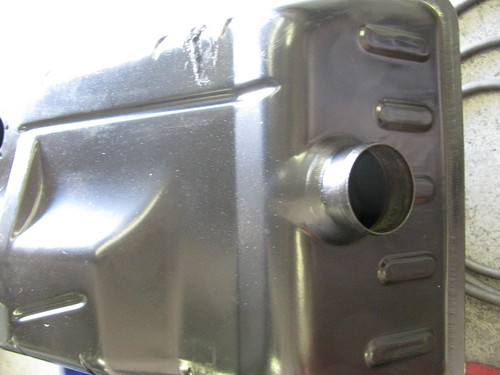
The gas tank is refurbished, released, has a new fuel gauge sender, and a repainted firewall.
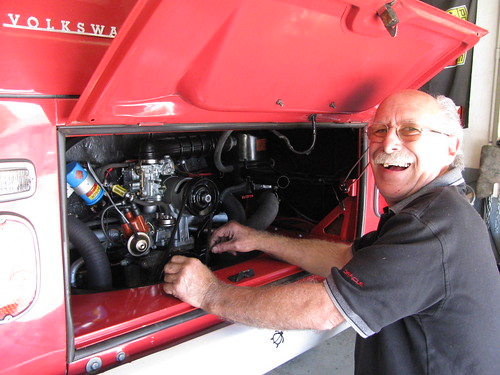
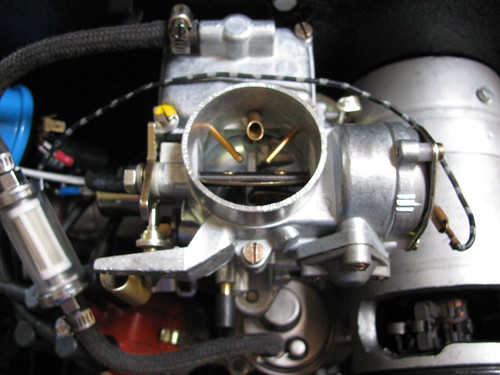
This is the engine rebuilder doing a final carb adjustment.
Several Thanks are due here.
First to John Marignac who not only sourced his finest people and parts, but took the time to make sure that everything would be as if it was his car. He has been picky and meticulous, and when I helped out, checked my work for perfection.
My Wife - who let's me have a vehicle for a mistress. Love you honey. I really do.
VW Camper Family - who has been patient with me while I work on it and miss campouts.
My random friends who have given me rides to places to pick up parts while the vehicle was in the shop.
Next stops. A valve adjustment at 200, 500, and 1000 miles. Then a road trip.
-Peter
Friday, July 30, 2010
Wednesday, July 28, 2010
Almost there
Success! Carb acquired. Installed. Engine tuned. Dry ran (out of the car) the engine, started up flawlessly within seconds. I have a little tweaking to do, but this baby is almost ready to roll.
Pics:
And heres a movie of it firing up for the first time:
Tomorrow I put the gas tank/engine/cv joints in and give it a test run.
Someone recently told me that Squoot was the love child of "squee!" and "Woot!" SQUOOT!
Pics:
And heres a movie of it firing up for the first time:
Tomorrow I put the gas tank/engine/cv joints in and give it a test run.
Someone recently told me that Squoot was the love child of "squee!" and "Woot!" SQUOOT!
Wednesday, July 21, 2010
Getting closer
Next round of progress:
My original heat exchanger on the passenger side finally died. So I had to get a new one.
I'm still missing the carb, but that is on the way.
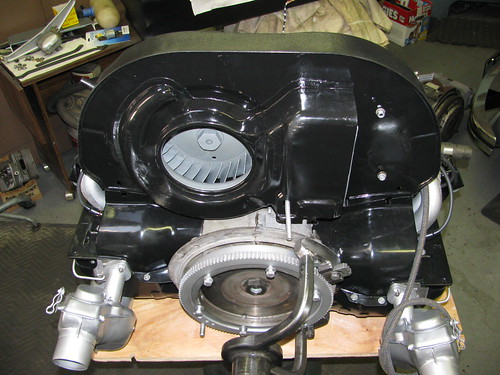
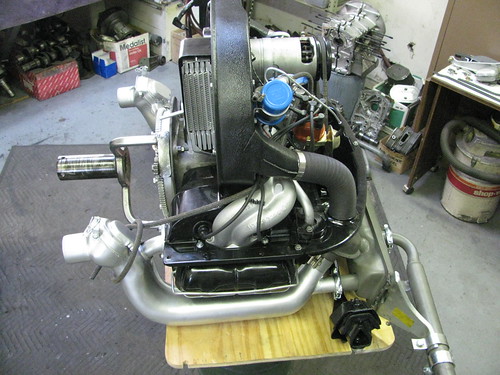
Pics from all four sides here:
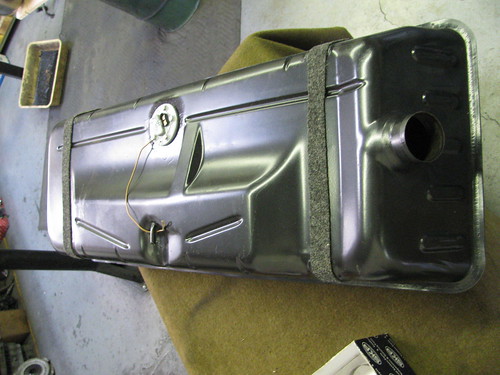
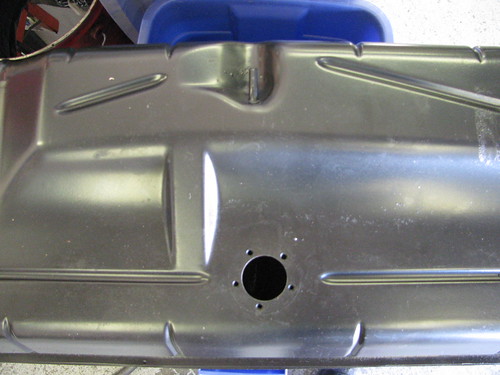
While I'm at it, the gas tank is done, and the firewall has been repainted:
Now a quick lesson on CV Joints plates.
The CV joint plates are necessary to strengthen the connection between the CV bolt and the boot. The metal on the boot is relatively thin for the kind of forces that the CV joint is capable of making, so the plate is necessary.
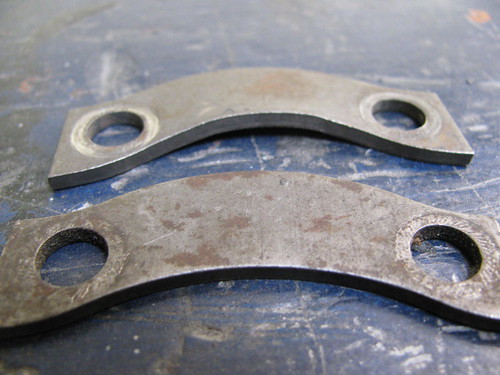
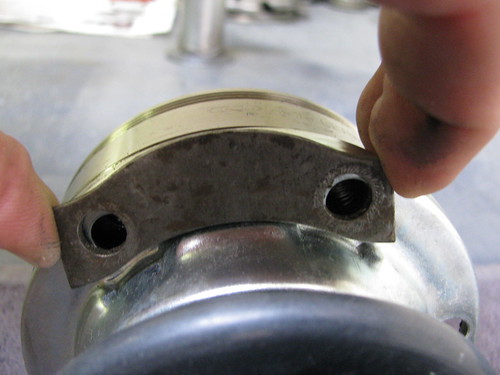
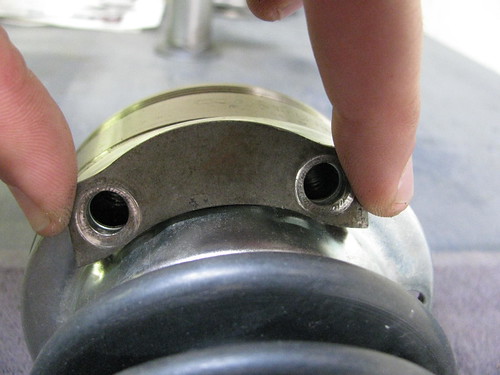
There are three types of plates. Pictured here are the two wrong types for the boot that I am using:
They are wrong because they don't fit over the slightly raised part of the boot that makes the boot structurally stronger. The flat plate completely missed the alignment:
The raised plate is closer, but still not exact:
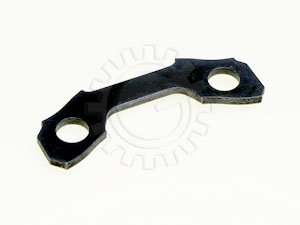
The best solution is the "real" plate that looks like this:
The image is blatantly stolen from German Supply in Canada, I'll post the real pictures once I get my shipment in (Thanks Scott).
I'll continue next week. Thanks for tuning in.
Thursday, July 15, 2010
Progress
Gas Tank Resurfaced:
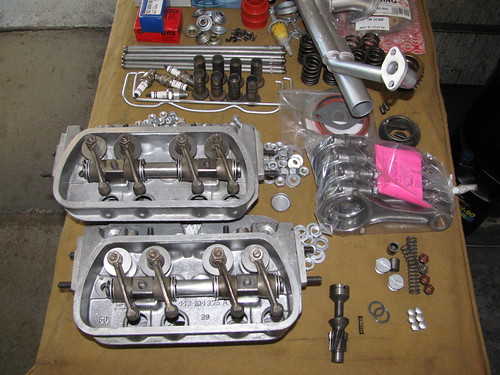
Cylinders and Pistons put on, new heads on, slowly adding the rest of the it:
Maybe finished on Saturday?
Larger Versions of these photos can be found here.
Cylinders and Pistons put on, new heads on, slowly adding the rest of the it:
Maybe finished on Saturday?
Larger Versions of these photos can be found here.
Tuesday, July 13, 2010
Remember that German Comedian?
Julia Weber was kind enough to send me the you tube link. I'm both horrified (that he's big in Germany) and proud (that my bus is better than his singing).
It's here, at the 35 second mark.
Monday, July 12, 2010
Weekend Progress
The first round of crazy overhauling madness began Saturday. Red was driven down to Johns shop, put up on the hoist and drained of oil.
All pertinent parts were disconnected, engine got pulled, gas tank was removed, both CV joint sets were taken off.
The old engine was broken down to recycle the parts that I don't need to replace (such as my very pretty exhaust system).
I didn't remove the heads yet, but when I do I will take the pictures of the damage that a sunken valve will do. In the meantime, here are a few shots of something very familiar to Bus owners: Oil crud and buildup.
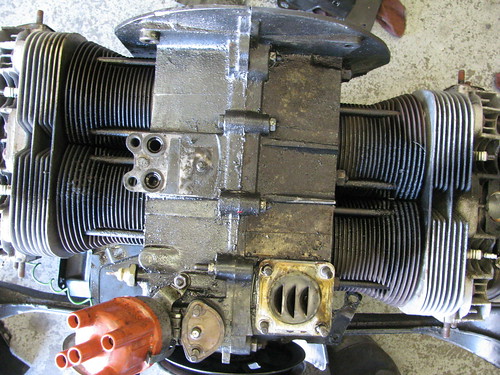
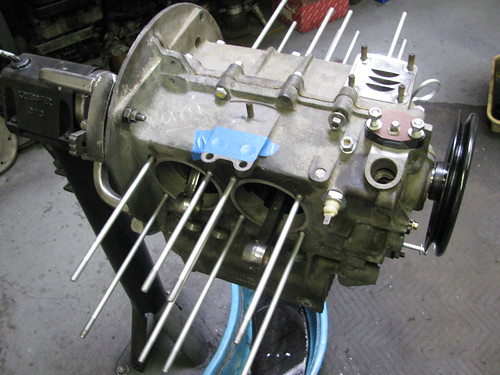
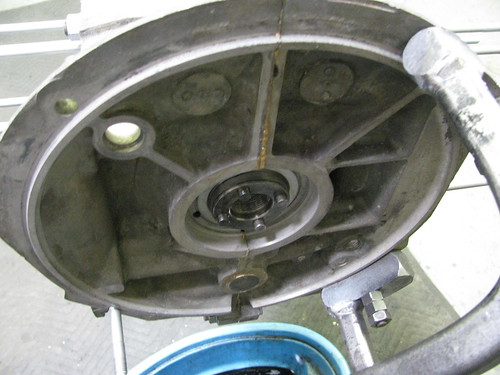
The Cylinders and Pistons that were shipped were the wrong ones, so I have to wait for them to show up before they get put back on. In the meantime, this is the current state of the new engine:
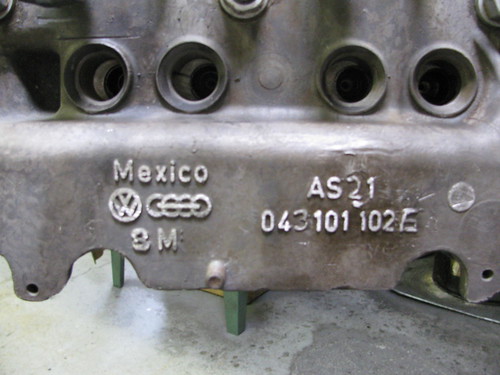
A little bit of history on the Engine Case if you are interested:
John will only use AS21 cases, not AS41 cases. The article is slightly incorrect - you can re-machine AS21 cases, but you get 1 chance to do it. By the third re-machining, the case is out of spec and beyond use. It has to be perfect, there are no second tries.
The gas tank is getting cleaned up and resurfaced so there are no more rust flakes in my fuel filter. I replaced the CV joints on the passenger side, but both of them have been damaged already, so I'm replacing them while the engine is out.
I'll keep you posted.
P.S. I love air powered tools, and Stalwille wrenches. John has a full set and damn if they don't feel... just right.
Thursday, July 8, 2010
Let's get this party Started
If you recall our last episode, the story thus far was:
-Valve Sinking into head.
-Decided to replace engine while I was at it
-And since I'm there, I'm also:
--Fixing CV Joint
--blasting/resurfacing gas tank
--rebuilding steering box
--upgrading engine from stock single port 1600 to slightly faster dual port 1641
Step one - get engine built:
This has taken the longest as my uncle is both anal retentive with parts and tolerances. If it doesn't meet his standards, it gets sent back. He works on Porsches, his demands are slightly higher.
This has taken him a couple of months as his suppliers are in high demand. Go figure.
But this is what we are starting with:
The short block is done, the Cylinders and Pistons are on the way.
Step two - get car down to the shop. This has been the problem all along - there has been no room at the shop, but that problem has been solved.
Tomorrow I drive down (slowly) and pull the engine/tank/steering box and begin the work.
I'll take pictures as I go. Wish me luck.
Subscribe to:
Posts (Atom)
Introducing, The Squirrel
I have another VW. I know it's a sickness. I'm cutting and pasting the post that I put on the samba: The Back story: My grandpare...
-
OK, not me. My bus. Last week I got a call from a friend who pointed me to a craigslist ad that stated "looking for a hippy bus" f...
-
... has rapidly risen up in the ranks of my flickr photos. And for good reason - it's just damn cool. When I was a child in the 1970...